
1. Why Test First Instead of Just Executing the Quote
The slippage, fees, and arrival estimate on a quote screen all rest on assumptions the routing algorithm makes at that moment: the contract behaves as expected, the bridge hasn't been substituted, and the token contract address on the destination chain is really the one you think it is. Those assumptions hold most of the time — but "most of the time" isn't enough certainty for a transfer that represents a meaningful share of your holdings. A small test transaction turns those assumptions from "what the quote screen told me" into "what I verified on-chain myself," at the cost of a few dollars in gas and fees, in exchange for catching avoidable problems before real money is on the line.
A test transaction isn't a guarantee that "small means safe" either — it verifies the routing and contract layer specifically; price slippage still varies with transaction size. Its purpose is narrow and specific: confirm the path itself has no structural issue, not substitute for a separate assessment of slippage and market depth at the actual large size.
2. Sizing the Test: Too Small Proves Nothing, Too Large Defeats the Point
Too small, and you may fall below a bridge's or aggregator's minimum swap amount, so the transaction just errors out and verifies nothing. Too large, and you've defeated the point of testing small in the first place — a real loss if something goes wrong. A workable starting point: size the test at several times the minimum gas an operation needs on the destination chain, and no lower than the platform's published minimum, typically landing between 1% and 5% of the amount you plan to move overall — or an absolute figure you wouldn't mind losing entirely, whichever is larger. If the platform doesn't publish a minimum, place a very small order first, see if it errors, and adjust from the message rather than guessing.
For larger transfers split across multiple batches, leave an observation window between the test batch and the next real batch rather than firing off the entire remaining amount the instant the test confirms — that window is there to catch delayed follow-on notices or anomalies.
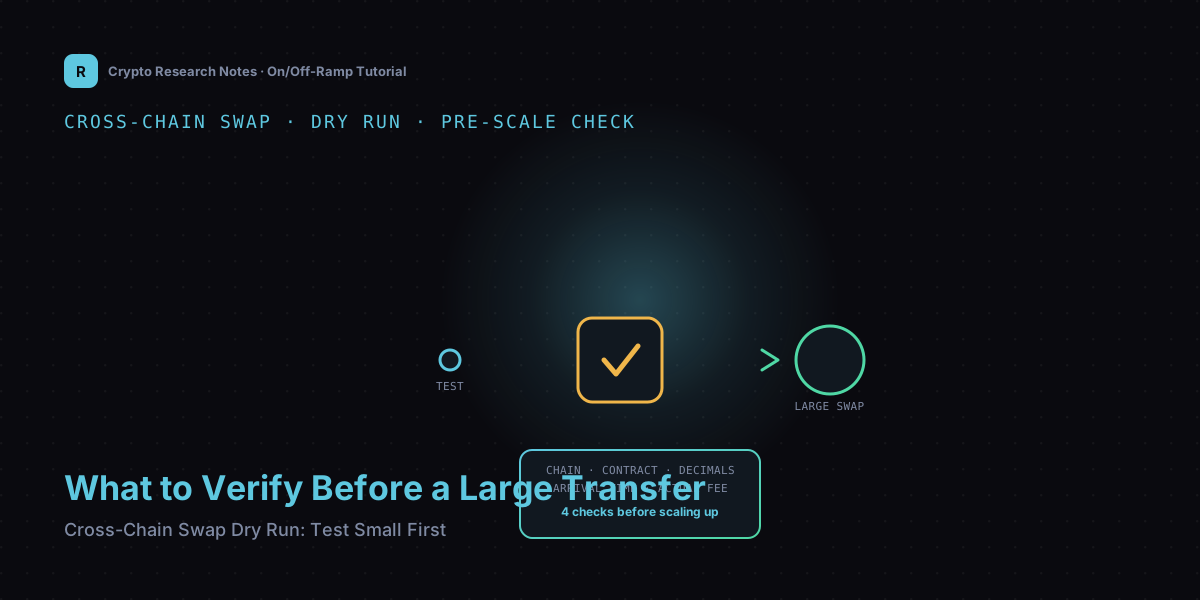
3. Four Things to Check Once the Test Transaction Lands
3.1 Right Chain: Did It Actually Land Where You Expect
Confirm the arrival record shows up on the block explorer for the chain you actually intended — not a similarly named testnet, a sidechain, or a different chain it got misrouted to because of shared address formatting. Multiple EVM-compatible chains share the same address format, so the same address "exists" on several chains at once — this is exactly the class of mistake that's easiest to make and hardest to undo after the fact. Catching it during a test is far cheaper than catching it after a large transfer.
3.2 Right Contract and Decimals: Is What Arrived the "Correct Version" of the Token
Compare the contract address of the token that arrived against the official contract address for that token on the destination chain, character by character. Cross-chain routing can sometimes quietly substitute what you thought was a native asset with a bridged/wrapped version instead (a "bridged USDT" rather than the destination chain's native USDT) — both may show the same symbol in your wallet, but the contract addresses, liquidity, and redeemability differ entirely. Also check decimal precision: if the arrival amount looks off by orders of magnitude (extra or missing zeros), it's almost certainly a decimals-handling issue, not an actual shortfall.
3.3 Arrival Time: How Far Off From the Quoted Estimate
Record the actual time elapsed from submitting the transaction to seeing it land on the destination chain, and compare it to the quote's estimated window. Some variance is normal, but if the actual time is several multiples of the estimate, it suggests congestion or bridge-layer queuing on this path under current network conditions — the same delay at a much larger transfer size will feel more stressful, and tests how well you've internalized that "slow" isn't the same as "lost."
3.4 Actual Fee: How Far Off From the Quoted Number
Add up the gas, bridging fee, and service fee actually deducted in the test, and compare the percentage gap against the quoted estimate. A small test's absolute fee often looks "expensive" simply because fixed costs make up a larger share — that's normal and shouldn't be linearly extrapolated to a large transfer. But if the deviation is far larger than fixed-cost overhead can explain, that's worth understanding before you scale up.
4. Red Flags: Don't Scale Up If You See These
- Test arrival time far exceeds the quoted window, and a transit-status lookup stays stuck "in progress" for a long time.
- The arrived token's contract address doesn't match the destination chain's official contract, or the wallet flags it as an "unknown token."
- The route silently substitutes the native asset you selected with a bridged/wrapped version, without a clear upfront warning in the interface.
- The actual fee deviates from the quoted estimate by far more than small-transaction fixed costs can explain.
- The destination address or the official support contact/contract doesn't match a version you previously verified.
- The test transaction requires manual intervention or an appeal to complete, rather than settling automatically.
If any of these show up, the right move isn't "try again and hope" — contact the platform's support or check its official docs to understand why first, and switch routes or tools, or abandon that path entirely, before deciding whether to continue.
5. A Related Scenario: Does the Swap Tool Support a "Test Small, Then Go Big" Workflow
To put the checks above into practice, you need a tool that supports cross-chain asset swaps and doesn't impose disproportionate minimums or fees on small transactions. Some tools set high minimums or relatively higher flat fees on small trades, which makes the cautious "test then scale" habit uneconomical — and indirectly encourages people to skip the test and go straight to a large transaction.
There are plenty of cross-chain swap aggregator tools out there; AllSwap is one example — the platform describes itself as a cross-chain swap aggregation tool supporting asset swaps across several mainstream public chains, and it displays an estimated arrival amount, slippage, and fee breakdown before you confirm, which in principle could also be used to run the kind of small dry-run test described here. To be clear, the description above is drawn solely from the platform's own self-reported information — please verify actual supported chains, minimum swap amounts, and real-world arrival experience against the provider's latest official disclosures and your own testing; this article offers no endorsement or guarantee whatsoever. Any use of a cross-chain swap tool must serve a genuine, compliant asset-management purpose and follow the relevant platform's terms and your local laws — never for money laundering, sanctions evasion, or other illegal purposes.
Whichever tool you use, don't skip the dry run because it seems like a hassle or the amount feels too small to bother — the time and cost it takes is far less than what you'd spend untangling a large transfer that went down the wrong path.
6. A Cross-Chain Swap Dry-Run Checklist
- Check the platform's minimum swap amount first; size the test no lower than that, within 1%-5% of the planned total or an amount you can afford to lose.
- Once submitted, record the source-chain transaction hash, the quoted slippage and fee estimate, and the quote's validity window.
- After arrival, verify: the correct destination chain, a token contract address matching the official one, and normal decimal precision.
- Compare actual arrival time against the quoted window; if it's significantly longer, check transit status before assuming loss.
- Compare the actual fee against the quoted estimate as a percentage; judge whether the gap is normal small-transaction fixed-cost overhead.
- If any red flag appears, pause before scaling up — investigate or switch routes/tools first.
- Once the test passes, execute a large transfer in batches with an observation window rather than firing the whole amount at once.
7. Summary and Long-Tail Questions
In one line: a test transaction verifies whether the path itself is reliable, not whether the price is a good deal; sizing it correctly triggers a platform's normal processing without amplifying risk; and the four post-arrival checks — chain, contract address and decimals, arrival time, actual fee — can each fail independently, so none can be skipped.
A few common questions: does the test have to use the exact same tool and route as the real transfer? Yes — the point is to verify that specific path; switching tools or routes means starting the test over, and prior results don't carry over. If the test passes, is the large transfer guaranteed to be fine? The test rules out structural issues at the routing and contract layer; price slippage, market depth, and real execution price at the larger size still need a separate assessment and aren't fully covered by the test. Does a high fee ratio on a small test mean the tool is a bad deal? Not necessarily — check whether the fee structure is similarly high for large transfers; linearly extrapolating a small test's fee rate to a large transfer isn't accurate, and you should check the tool's stated fee schedule for larger trades. This piece is shared purely for learning and research purposes and is not investment advice; crypto assets carry significant price and operational risk, so make your own judgment and take responsibility for your own decisions.