
1. The On-Ramp Tutorial: Understand Money's Three-Leg Journey First
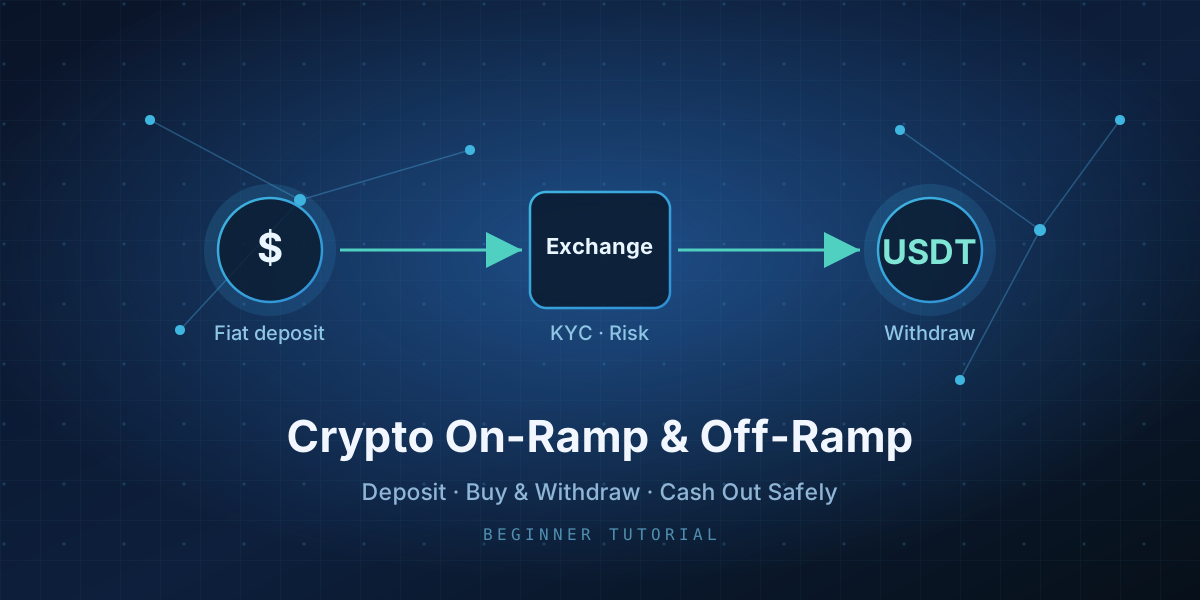
Before doing anything, walk the whole route once. Going from fiat to crypto and back, your money actually travels three legs: deposit (funding the exchange with fiat like USD), buying and holding (swapping fiat for BTC, USDT, etc. inside the exchange), and cash-out (selling back to fiat and withdrawing to a bank card, or first moving coins to your own wallet). What this on-ramp tutorial solves is walking each of those legs steadily.
Why cover it on its own? Because the thing that goes wrong here usually isn't "buying too high" — it's the channels themselves: a shady deposit route, the wrong network on withdrawal, a risk-control freeze on cash-out. Once you grasp the overall structure, you know what each step is guarding against. Below, in the order you actually do them, are the five actions of exchange on/off-ramping.
- Money's journey has three legs: fiat deposit → buy and hold → cash out or withdraw.
- Beginner risk lives in the "channels," not the trade itself: routes, networks, risk controls.
- This piece breaks the flow into five actionable steps in real operating order.
2. Step One: Pick a Platform, Do KYC, and Lock the Account Down
The first step of this on-ramp tutorial isn't funding — it's laying a security foundation for the account. Choose a compliant, well-regarded exchange; don't go by "lowest fees" or an ad alone. After signing up, complete KYC (identity verification) properly — it's not a hassle, it's the very precondition for smooth large withdrawals later; many freezes and limit problems trace back to an insufficient verification tier.
Once the account exists, do three things immediately: enable two-factor auth (2FA, prefer an authenticator app over SMS), set a strong unique password, and bind a withdrawal whitelist. These take under ten minutes and block the vast majority of account-theft risk. Remember the principle: lock the account down before you deposit, don't wait until something goes wrong to think about security settings.
- Pick a compliant exchange; weigh safety and compliance over "low fees."
- Finish KYC seriously — your tier directly sets withdrawal limits and cash-out smoothness.
- Before depositing, enable 2FA, set a strong password, and bind a withdrawal whitelist.
3. Steps Two and Three: Fiat Deposit and Buying
With the account ready, it's time to actually bring money in. Fiat deposits usually run through a few channels: bank card, third-party payment, and C2C (peer-to-peer buying/selling with other users). This on-ramp tutorial's advice for beginners is one line — always test small the first time. Deposit a small amount, confirm it lands and that you understand the platform's flow, then scale up; don't wire in a large sum right away.
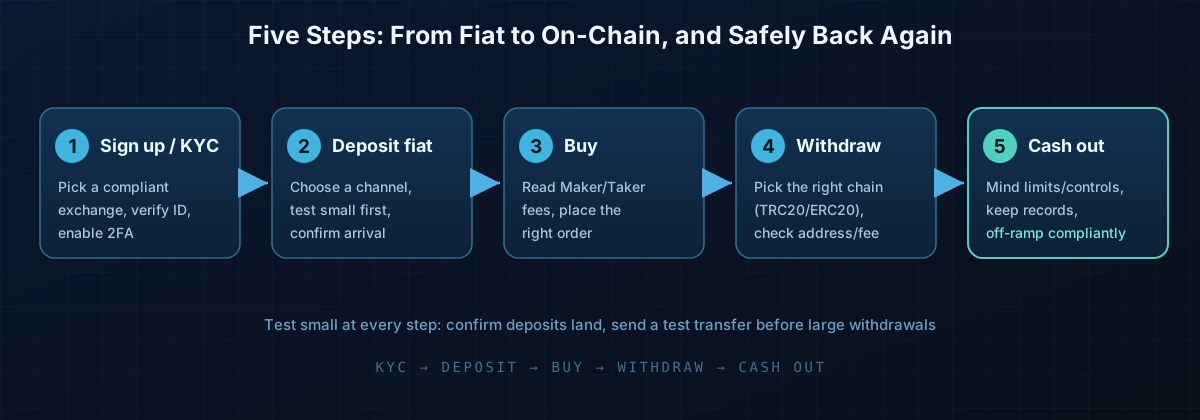
Once funds land, you buy. The thing to see clearly here is the fee structure: maker and taker fees usually differ; a market order is fast but may eat the spread, a limit order controls price but may not fill immediately. Don't be lured by "zero fees" — real cost includes the spread and execution price. After buying, don't rush to move things around; the next step, withdrawal, is where safety matters most.
- Deposit channels include bank card, third-party pay, and C2C — always test small first, then scale.
- When buying, read maker/taker fees; market orders for speed, limit orders for price control.
- Count the spread into "zero fee" claims; don't judge by the nominal rate alone.
4. Step Four: Withdrawal — the Step to Slow Down On
If any step in this on-ramp tutorial must not be rushed, it's withdrawal. Withdrawing moves assets from the exchange to an on-chain wallet, and once sent it's almost irreversible — a mistake is real money gone. Two failures are most common: picking the wrong network — the same USDT over TRC20, ERC20, or another chain has different address formats and fees, and the wrong chain or a wrong address can make coins unrecoverable; and phishing via fake support or fake addresses.
The right approach: send a minimal test transfer first, confirm the address, network, and arrival are all fine, then move the large amount. When checking an address, don't just glance at the first and last few characters — compare the whole string or use a whitelist. Match the fee to the network, and don't pick a chain your wallet doesn't support just to save a little. A minute of patience beats losing a transfer.
- Withdrawal is nearly irreversible — the step to slow down on most.
- Pick the right chain (TRC20/ERC20, etc.) and verify the full address, not just the ends.
- Send a small test transfer before the large one; beware fake support and fake addresses.
5. Step Five: Safe Cash-Out, and How to Pay for Tools
The last leg is turning assets back into fiat and withdrawing to a bank card — the cash-out. The most common headache here is risk control: a normal-looking transfer gets temporarily frozen, or you hit a daily limit. The fix is to max out your verification tier, use legitimate cash-out channels, and keep records of every transaction; if you do get flagged, a complete paper trail makes appeals far smoother. Don't chase "faster, cheaper" back-alley routes — they're often the source of freezes and disputes.
A practical aside many beginners hit: researching markets, subscribing to data tools, and opening some overseas services often need a card that can pay recurring foreign fees. Many people solve this with a virtual credit card — fast to open, controllable limits, and a separate card per use so your main card isn't authorized everywhere. If you're looking for a reliable virtual card issuing platform, options like RDVCC that support Visa virtual cards for subscriptions are worth a look, just to smooth out the "how do I pay for tools" step. To be clear, this is payment convenience only and has nothing to do with the compliance and safety of your exchange on/off-ramping — don't conflate the two.
- Cash-out's hard parts are risk controls and limits: max your tier, use legit channels, keep records.
- Avoid "faster, cheaper" back-alley routes — they often lead to freezes and disputes.
- Recurring foreign fees for overseas tools can be paid with a virtual credit card — but payment convenience isn't trading safety.
6. Wrap-Up: Treat On/Off-Ramping as a Fixed Routine
Looking back, there's no magic in this on-ramp tutorial — the core is turning five steps into a fixed routine: pick a platform and do KYC, deposit small, buy with fees in mind, withdraw carefully, cash out compliantly. Each step has a pitfall it specifically guards against; follow the order and test small when in doubt, and most beginner mishaps are avoided.
What really separates people isn't who buys most accurately, but whose channels are steadier and safer. Get this exchange on/off-ramp fundamentals down solid and every move in and out of crypto gets calmer. This whole piece discusses process and method only; it recommends and evaluates no specific platform or product and is not investment advice. Platform rules, fees, and compliance requirements can change at any time, so rely on the latest official information and own every action you take.
- Solidify on/off-ramping into five actions: KYC, deposit, buy, withdraw, cash out.
- Testing small when in doubt is the highest-value beginner habit.
- This is a process-and-method discussion, recommends no platform, and is not investment advice.